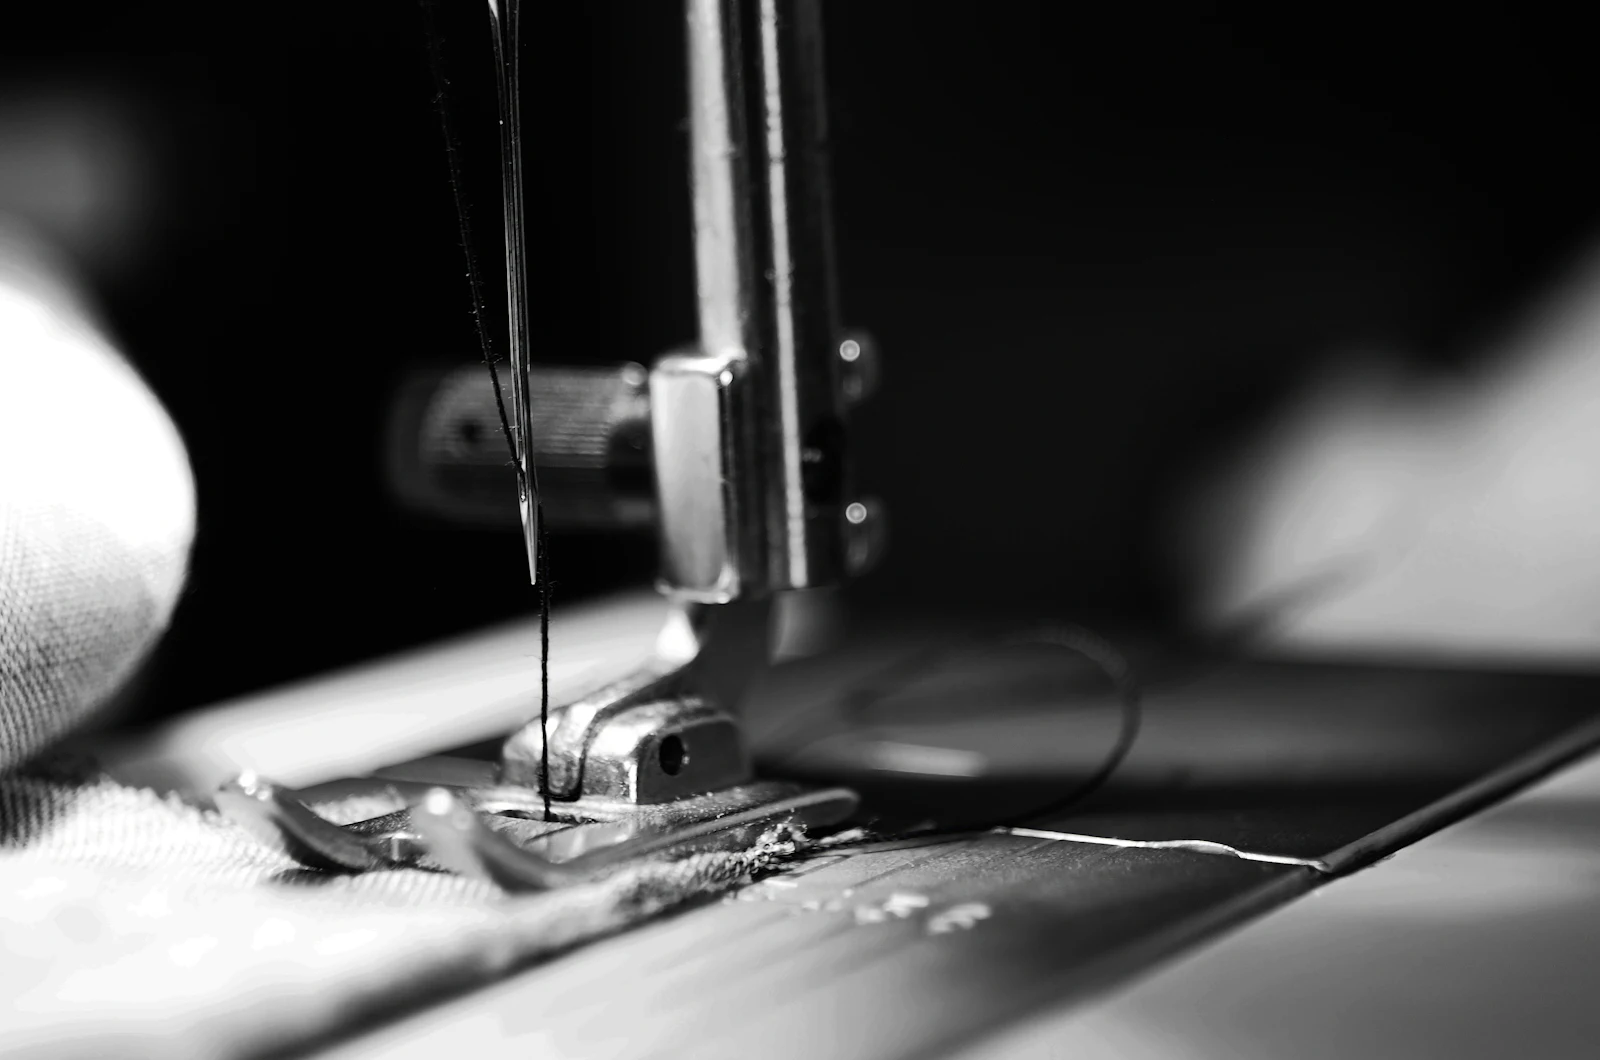
What you need
- A small lint brush (often supplied with the machine).
- A small screwdriver for the needle plate.
- Sewing machine oil, if your manual says to oil.
- A soft cloth.
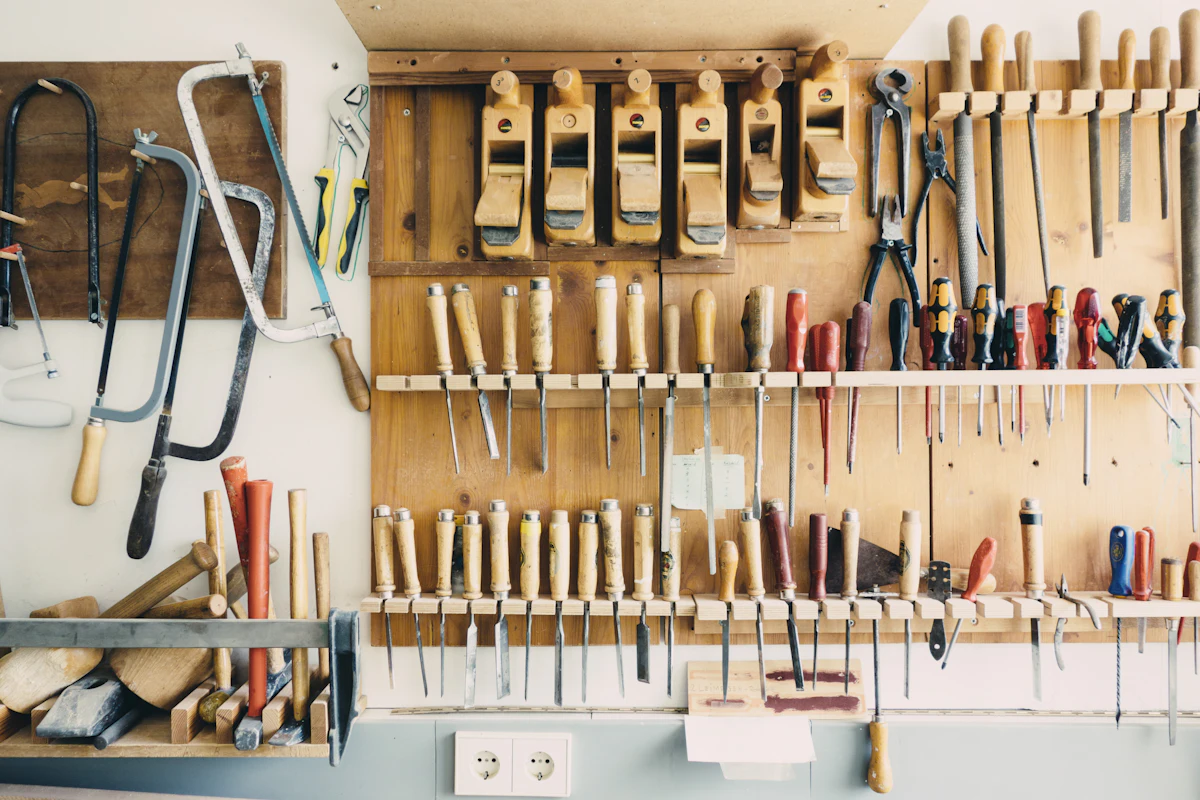
Step by step
- Unplug the machine.
- Remove the needle, presser foot and needle plate.
- Remove the bobbin and bobbin case (if removable).
- Brush lint from the feed dogs, hook and bobbin area.
- Wipe away dust and old oil.
- Oil only where the manual shows, one drop at a time.
- Reassemble, fit a new needle and sew on scrap to absorb excess oil.
What not to do
- Don’t blow into the machine or use canned air, which can push lint deeper.
- Don’t use household oils or WD-40.
- Don’t take apart electronics or the motor.
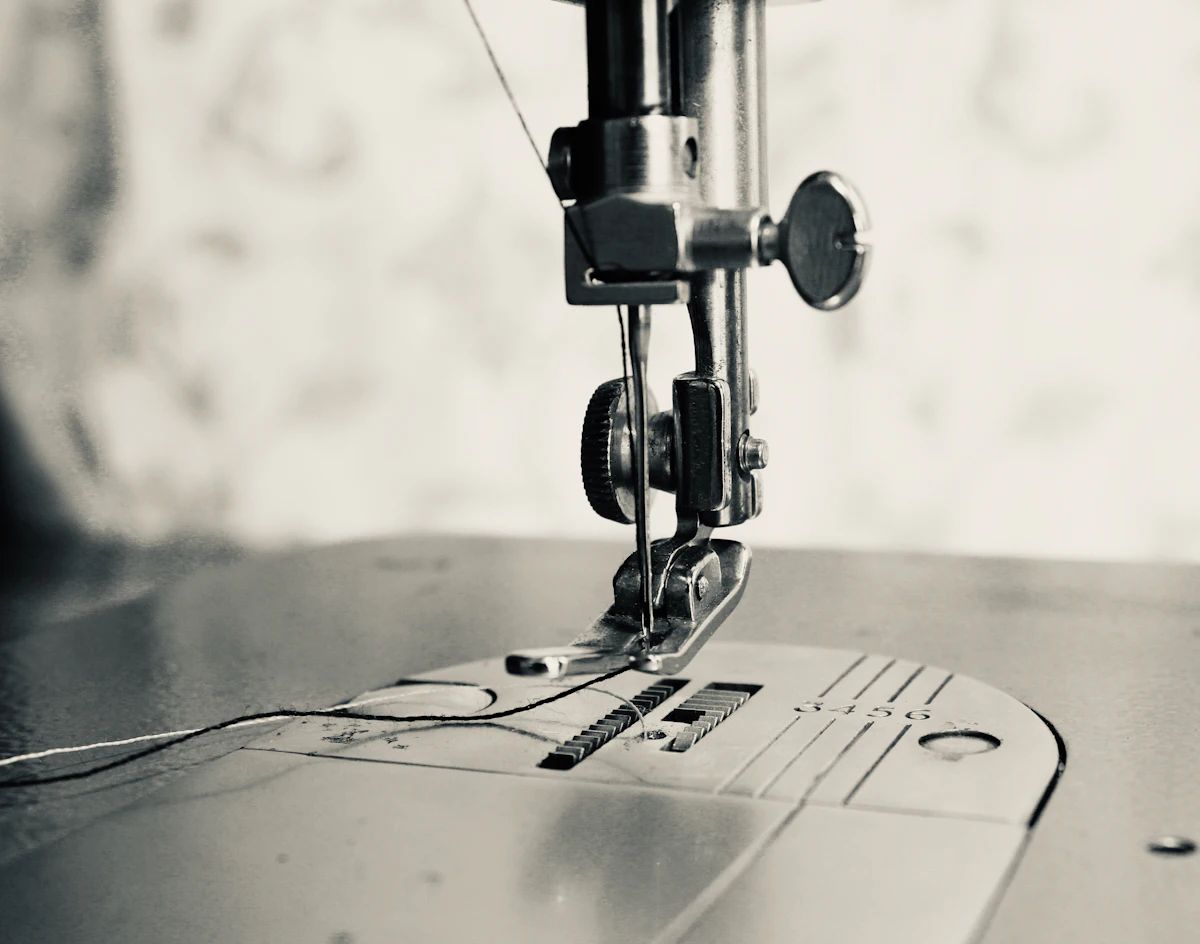
Cleaning vintage machines
Older all-metal machines often have many oil points, marked in the manual. Remove old oil and fluff carefully, then oil each point sparingly. Don’t use harsh solvents on decals and paintwork.

Cleaning overlockers
Open the front and side covers, brush out the lint around the loopers and knives, and oil only where the manual says. Overlockers shed more lint than sewing machines, so clean them more often.
How often to clean
Brush out lint after every project, or every few hours of sewing, and immediately after sewing fleece, felt, flannel or wadding. Wipe the outside regularly and keep the machine covered. A deeper clean under the needle plate is worth doing monthly if you sew often.
Signs your machine needs more than a clean
- It still sounds rough or knocks after cleaning.
- The handwheel feels stiff.
- Stitches skip even with a new needle and correct threading.
- The motor is slow or smells hot.
These are signs it is time for a professional service.
When to book a service
If the machine is still noisy, stiff or stitching badly after cleaning, it’s time for a professional service. PK Sewing Machines services domestic and industrial machines in Leicester, part of the city’s long textile tradition. See how often to service.
Last updated: 14 October 2026


